
I finally got around to getting this put in. What is it? Why, nothing but a high
amperage Moroso safety cutoff switch. The sanctioning bodies that I race under request
that you have a complete electronics and engine shutoff for safety's sake when you run
fast, or have moved the battery from the factory location.
I plan on doing both :) Anyway, this switch will kill the entire electrical system of
the car (including ignition) in the case of an emergency. Yes, this also means the
Moroso battery box that has been sitting in my garage for 1/2 of a year, is finally going
to be installed... more pics to come
-J
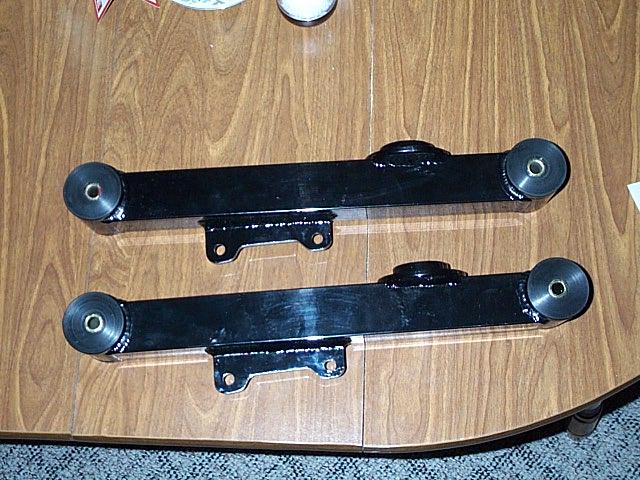
My new lower control arms are here! Fresh from Tim @ the now defunct Dynotech Racing I can't wait to get them in. Along with the other goodies, I should finally have a suspension that doesn't try to come up through the floor on every shift, and actually lets me use some of the power I already have.
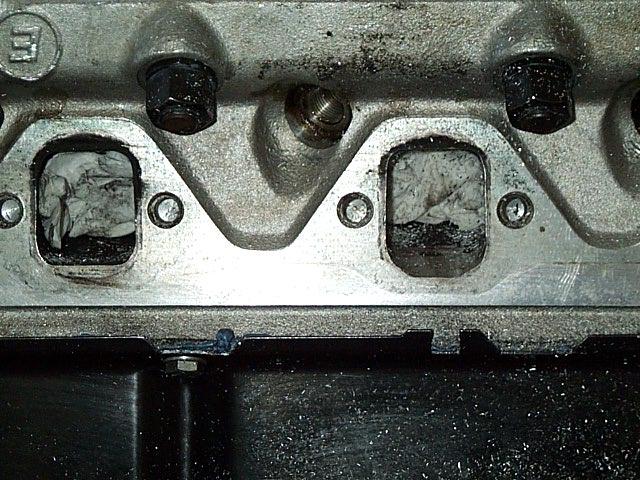
An unexpected event happened today. I was looking at the engine as it was sitting there on the
engine stand, specifically, at the heads. I knew when I got the heads done, they were ported
to the wrong gasket (my own fault. I gave the porter the wrong ones). Well, it occurred to me
then and there, that here was as good of an opportunity as any to fix my past mistakes. So, I took
everything I had learned from reading, talking, etc, and proceeded to port the roof of the exhaust
ports to more closely match a Felpro 1417 gasket, instead of the smaller 1415. What you see in
this picture (engine is upside down), is the port on the right having the roof raised up almost
3/8". This is quite significant, and should help with flow tremendously... The most important
thing to remember when porting the small block Ford engine head, is DO NOT TOUCH THE FLOORS! If
you do, you WILL lose flow. However, they respond very well to high ceilings, and smooth contours,
so I gave them both. If you can't tell (and you should be able to) the port on the right is the worked
one, and the one on the left was done next.
Not pictured, but I managed to get those new lower control arms in today as well!