
Yesterday, I put a RPM head on, with a gasket, and proceeded to do a leakdown test. Although I was testing it cold and dry (lil bit of oil in the cylinder), I wasn't expecting to see 40% leakdown. I only tested one bank, as there wasn't much point in doing the other side. It has to come apart, and get new rings.
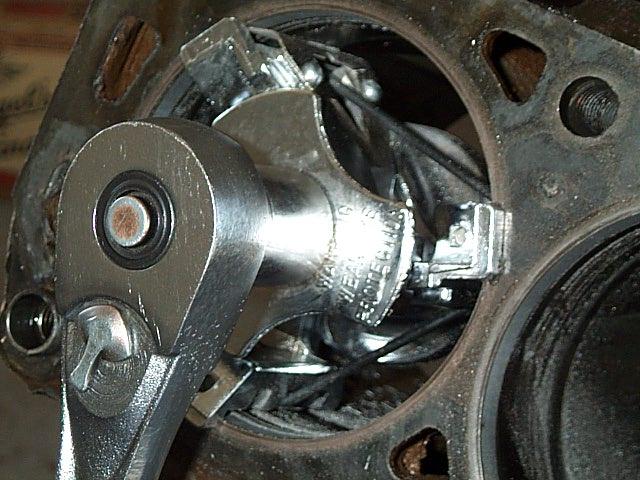
I put some more time in on the engine today... The weather was great! Too bad I wasn't able to drive the car, but maybe that will happen soon. This first picture shows my new ridge reamer at work. You can see the ridge is gone from the cylinder just to the right. After the ridges are removed, the next step will be to clean the bores very well, and then hone the cylinders. I though I had a pic of the cylinder hone at work too, but I didn't. It's a neat device made by Lisle tools based here in Iowa. That is where the ridge reamer is from as well. Both are very nice pieces. I picked them up locally at Bob's Tools . A very cool place to drool for a while.
-Jim

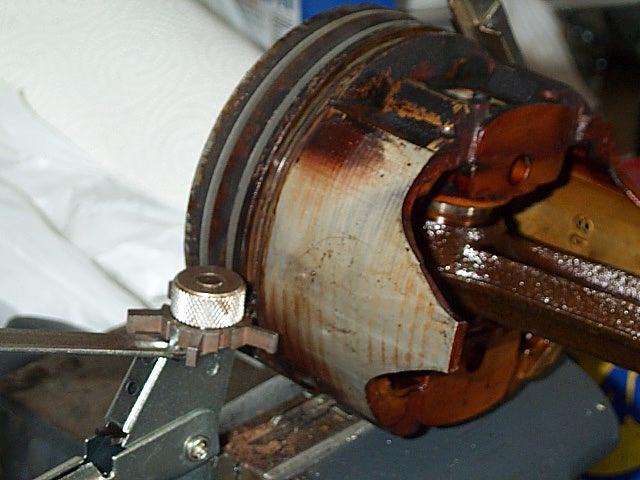
Here is a picture of the piston ring groove cleaner doing its work. You can see the grooves where it has been cleaned. I need to order the rings and bearings tonight. The crankshaft checked out just about perfect, so no worries there. the rods are also in quite good shape. It was a busy day. Tore the pistons and rods out, tore the crank out, measured a bunch of tolerances, and then smiled a bit (at least something was going right, no machine work needed). cleaned the pistons up a bit, took the rings off, cleaned the grooves, and then did the stuff listed above. The piston to wall clearance is a little bit on the loose side. I am going to try to run it, all the same, but wish it was about .005 tighter. .008 is max recommended, and I am just a touch over. I think it will be just fine tho, as I have seen engines running that would have needed a .040 bore job or more when they came apart.

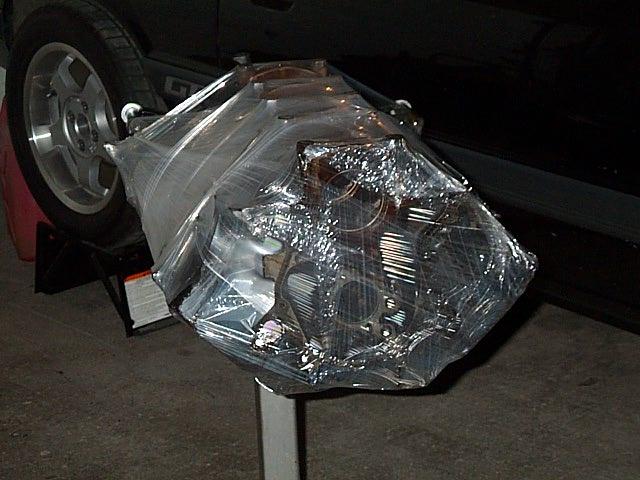
This is the block; ridges removed, honed, cleaned with soap and water, dried with paper towels, soaked with a coat of WD-40, and wrapped up ready to go.
Aug 29, 2001
Been a while since I put an update in, so rather than astound you with a WHOLE BUNCH of pics in this page, check this link out... careful, it is a WHOLE BUNCH of pics :)
-J