Meade ETX-90EC project

A 2003–2005 backyard imaging build · by Jim Howard

My first astrophotography rig was a Meade ETX-90EC maxi-mak on a single fork arm with the #497 Autostar hand controller — my first go at computerized tracking. The plan: mount a firewire webcam at prime focus and image through the scope. This is the write-up, plus the camera modification that made it work. The Orion 8" Newtonian project replaced it later.

The setups

Final ETX-90 webcam setup
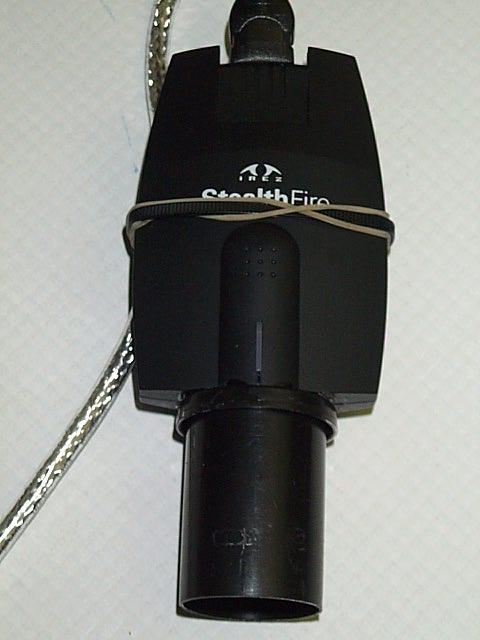
The current setup, as of the making of this page. It consists of an Irez firewire webcam, modified as described below. With the modifications, the cam sits in the eyepiece holder at prime focus.
Earlier ETX-90 setup with universal camera mount
For reference, the previous setup, using a universal camera mount (tripod screw) made by Harry of Siebert Optics. This setup allows a person to do eyepiece (EP) projection, which means the image is actually taken through the EP, whereas prime focus takes the image through the lens system in the back of the scope.
New straight-through visual back setup
The new setup. I got tired of having to find the object with an eyepiece (EP), then taking the EP out, putting the camera in, having to center the CCD, then focus it, only to have to put the EP back in to go to the next object. I decided it is time to take advantage of that other opening on the scope, so with the help of some funds and an order to scopetronix, I picked up a straight-through visual back for the ETX. This allows me to put the cam in the straight-through, and an eyepiece of similar magnification in the 90 degree finder. I can then adjust the cam so that the focus is about the same as it is with the EP in the straight-through. So now, I can center with the EP and then switch over to the CCD. No further adjusting or centering needed.

Autostar is not very good at keeping things in the crosshairs of the finder for very long, so it is time to put some better gears in it, but that is a different story. Star Navigation made the gears for Meade (they are no longer in the gear business, but the Meade I/C site still has good information on gear replacement).

The fork mount also got some attention: the original single-fork-arm wedge was replaced by an EQ wedge drilled and tapped for the ETX fork base, and later a modified Vixen GP polar assembly — cut down, redrilled and tapped, with a commercial adapter plate — which I polar-align off the mast on the back of the wedge. The wedge holds a 25 lb load with only a 1/2" by 8 inch piece of aluminum holding it to the equatorial head, so be careful when balancing. Not pretty, but it works very well — if you don't have what you need, make due with what you do have.

Laptop and controller cart
Everything fits on the cart nicely. A 12VDC to 120VAC inverter runs the laptop; two 12VDC batteries run the inverter and the telescope. The ETX draws less than 2 amps at 12V, and a deep cycle marine battery keeps it running all night.

Camera modification — Irez StealthFire 1394

The camera I chose to try (one of two, the other would have been the Orange Micro iBot) was chosen for 3 reasons: price, availability, and speed (firewire). The camera that met the criteria is an Irez 1394 StealthFire. The camera comes in a cheap box and is not mounted in it very well at all. Fortunately, the camera seems to be of a quality that makes up for the poor shipping box.
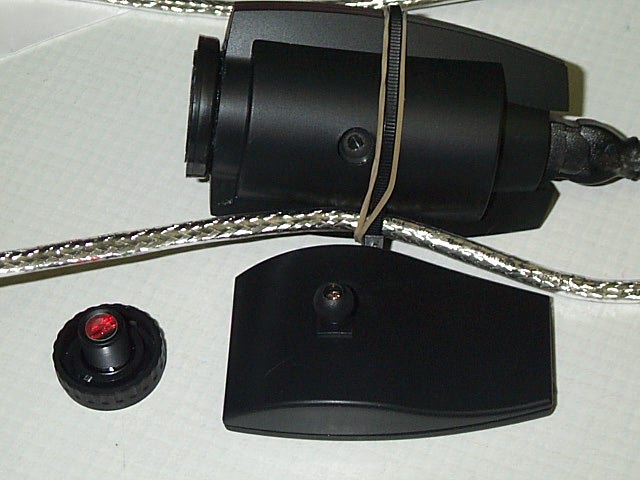
Irez StealthFire camera disassembled
The camera, and the two pieces you need to remove to make this prime-focus modification work. The camera basically becomes the EP for the scope.

After removing two screws from the bottom, the faceplate can be removed. Take care — there is very little slack in the ribbon cable that goes from the faceplate to the circuit board. Once removed, you can see the circuit board mounted to the back of the case with a couple of screws; the sensor is visible in the middle of the board with the CCD filter mounted in front of it.

When the screws holding the circuit board are removed, the board and its mount are held to the front part of the case with only the power cord and the ribbon cable. You can see the lens assembly, which is held to the front of the case with a retaining ring around the lens.
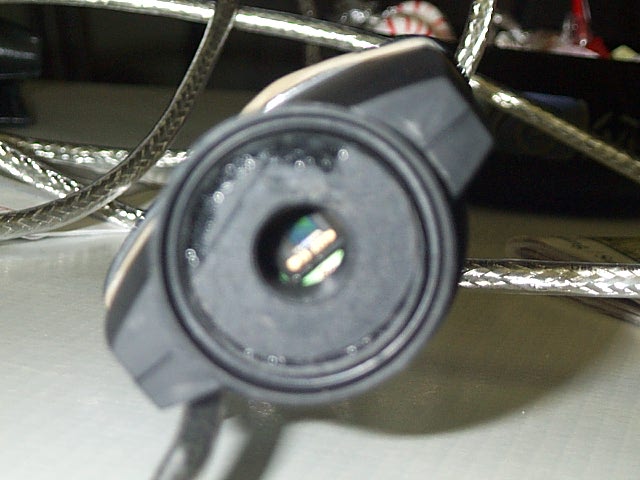
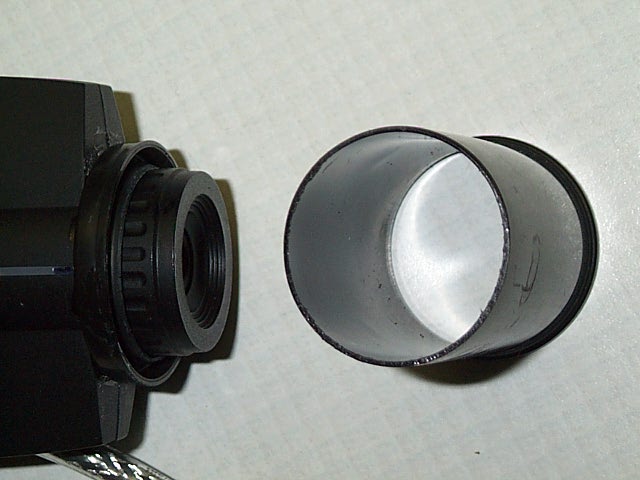
Circuit board and lens assembly removed
With the lens assembly removed, the next thing to come off is the CCD filter. The filter is actually held on by its own holder. You will need to press the sensor assembly into the case to push the filter holder out.
35mm film can lid as adapter
The 1.25" adapter started life as a set of 35mm film can lids. The lids off of two film cans were glued one on top of the other, then the middle was cut out — and then it was simply a matter of cutting threads into it.
Finished modified camera
Camera with everything back together. The camera is back to its original configuration with only a few small changes — no holes were cut, nothing permanently altered — the whole modification could be undone if needed.

So there you have it, a fairly easy modification of an off-the-shelf firewire webcam into a CCD for your telescope.