The Webcam-- Irez StealthFire 1394
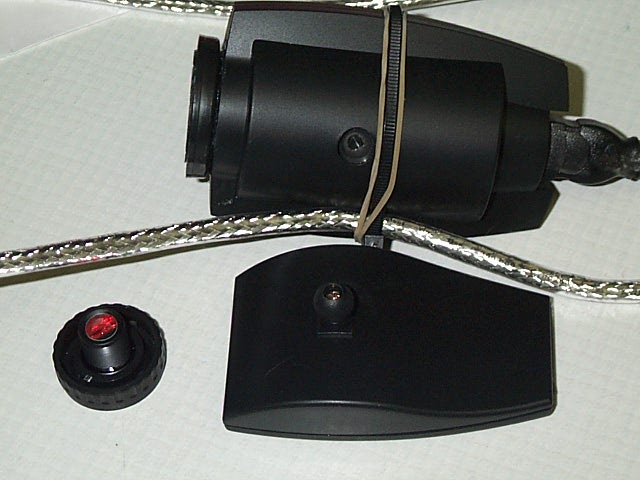
The camera I chose to try (one of two, the other would have been the Orange Micro iBot) was chosen for 3 reasons. Price, availability, and speed (firewire). The camera that met the criteria is a Irez 1394 StealthFire. The camera comes in a cheap box, and is not mounted in it very well at all. Fortunately, the camera seems to be of a quality that makes up for the poor shipping box. The picture above shows the camera, and the two pieces that you need to remove to make this prime focus modification work. The camera basically becomes the EP for the scope.
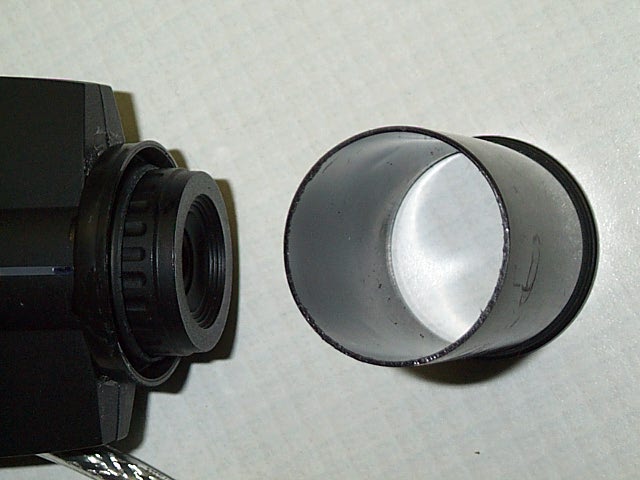
Start by popping the base off the camera. It is a simple ball and socket connection, and it pops right out without too much worry. Next, unscrew the lens from the front of the camera. This camera has a nice design for getting right to the CCD. The filter is part of the lens, and unscrews with it, to give straight access to the CCD.
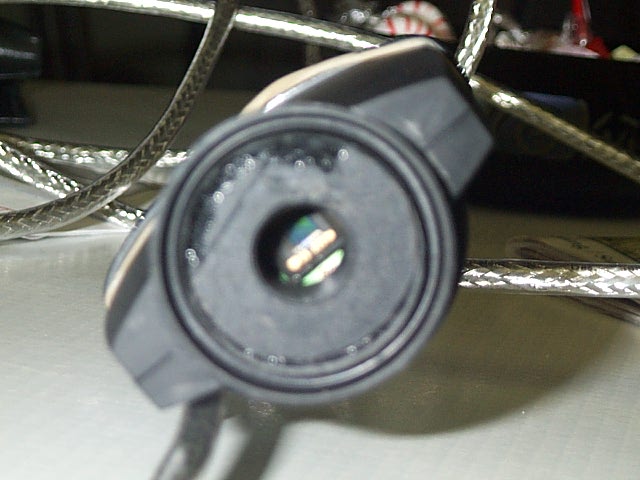
Next, locate a Kodak or Fuji film 35mm plastic canister. I used a Kodak, because it is what I had. I have read where the fuji actually fits a little bit better, but this seems to work too. Cut the bottom off the canister, just barely (a couple mm) above the bottom. Save this bottom piece, as it will be handy if you happen to mess the lid up. Next, take the lid to the canister, and cut a hole in the exact center of it that is the same diameter (or just slightly larger) than the threaded shaft of the lens/filter assembly. Making the hole this size, allow the light needed to enter, but blocks off non-necessary reflections. It also allows you to leave the nice red LED on the top of the camera alone, and not hve it pollute the eyepiece with its light. You will see what I mean when you look at the front of the camera, after unscrewing the lens. Should you mess up on drilling this hole, you can use the piece you saved from the bottom of the canister, and try again. Simply glue it into the bottom of the lid. It also helps to strengthen the lid, as they are somewhat flimsy.
This picture is slightly blurry, but you can see the base of the canister, glued into the cap. Once you are happy with the hole, and it is glued securely into the cap, the next step is to glue the cap onto the front of the webcam. I used standard super glue. Put the glue on the cam, then put the canister lid on the cam. Quickly screw in the lens assembly, as it works very well to keep the lid centered on the cam while the glue dries. Keeping it centered like this does two things, first, it allows the opening to the ccd to be insured as centered, and it also allows you to be able to screw the lens into the camera to protect the ccd when storing it, or for use as a regular webcam again. Simply pop the canister off from the lid, and screw the lens into the cam. It remains 100% usable as a normal webcam.
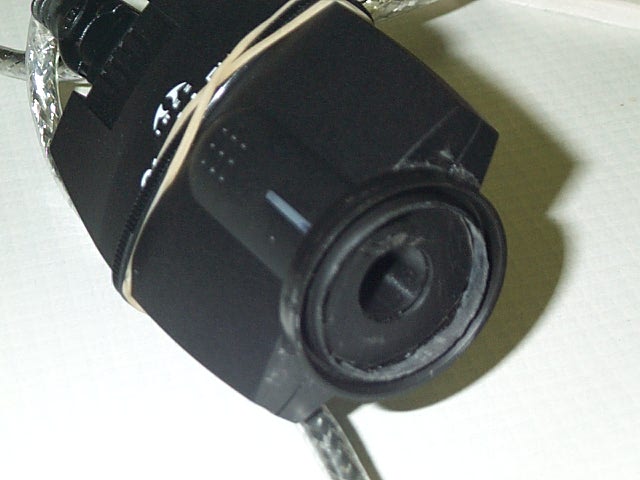
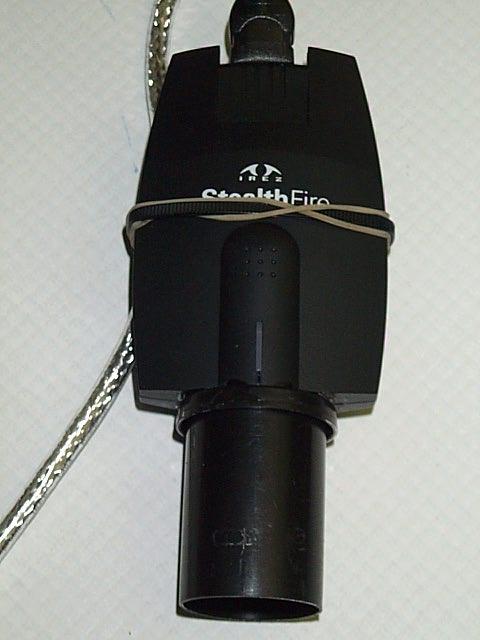
This final picture shows the cam put together. I purchased a 14' Belden firewire cable, so that the laptop can be a ways away from the telescope. I secured the cable with a tiestrap, and have a rubberband on it as well, for "grip". The cam/canister combination will be very close to the focus of your eye pieces, so you should be able to nearly interchange them.
Check out some of the pictures and movies that the cam has made thus far: Click here for movies. and click here for still shots